

Troubleshooting Cutting Issues- Beginners Guide
Laser-cutting acrylic can be a delightful experience, resulting in clean lines and intricate designs that turn ordinary sheets into works of art. However, if you've ever encountered issues like acrylic not cutting through or pesky flashbacks, don't fret! We're here to help you troubleshoot these common laser-cutting woes!
1. Acrylic Not Cutting Through:
Issue: Your laser seems to be dancing on the acrylic rather than slicing through it like a pro.
Solutions:
Focus First: Proper focus is crucial. Ensure your laser beam is precisely focused at the correct distance from the acrylic's surface. Incorrect focus can lead to incomplete cuts. This should be your first check!
Mirror Alignment: Misaligned mirrors can cause the laser beam to deviate from its path. Check your laser's mirrors and lens to ensure they are properly aligned.
Clean Machine: Dirty Fans, Mirrors, & Lenses are an often culprit in cutting issues- make sure you've checked them all!
Adjusting Your Settings: The next quickest solution is usually to adjust your power and speed. For acrylic that isn't cutting through all the way you should increase your power and decrease your speed in increments of about 5 until you find the sweet spot.
Double Pass: If the acrylic is super stubborn, you can try running the laser over the same path twice. This can help ensure a more complete cut, especially with thicker acrylic sheets.
2. Flashback, Char, Melted Edges:
Issue: You're noticing unsightly burns or flashback marks on your beautiful acrylic creations.
Solutions:
Focus First, Clean Machine, & Mirror Alignment Checks First!
Masking Material: If your material comes paper masked, leave it. If there's a plastic masking on it, most people prefer to remove the plastic and replace with a paper masking. You can also explore the dish soap method or paper towel method in lieu of masking.
Raised Material: Many people have success with raising the material off the bed of the laser using small scraps, magnets, honeycomb pins, etc. The goal here is to raise it in a few spots along the edges and down the middle so that the laser does not hit it, or hits it minimally, along any of the places it is raised. Here's a good video!
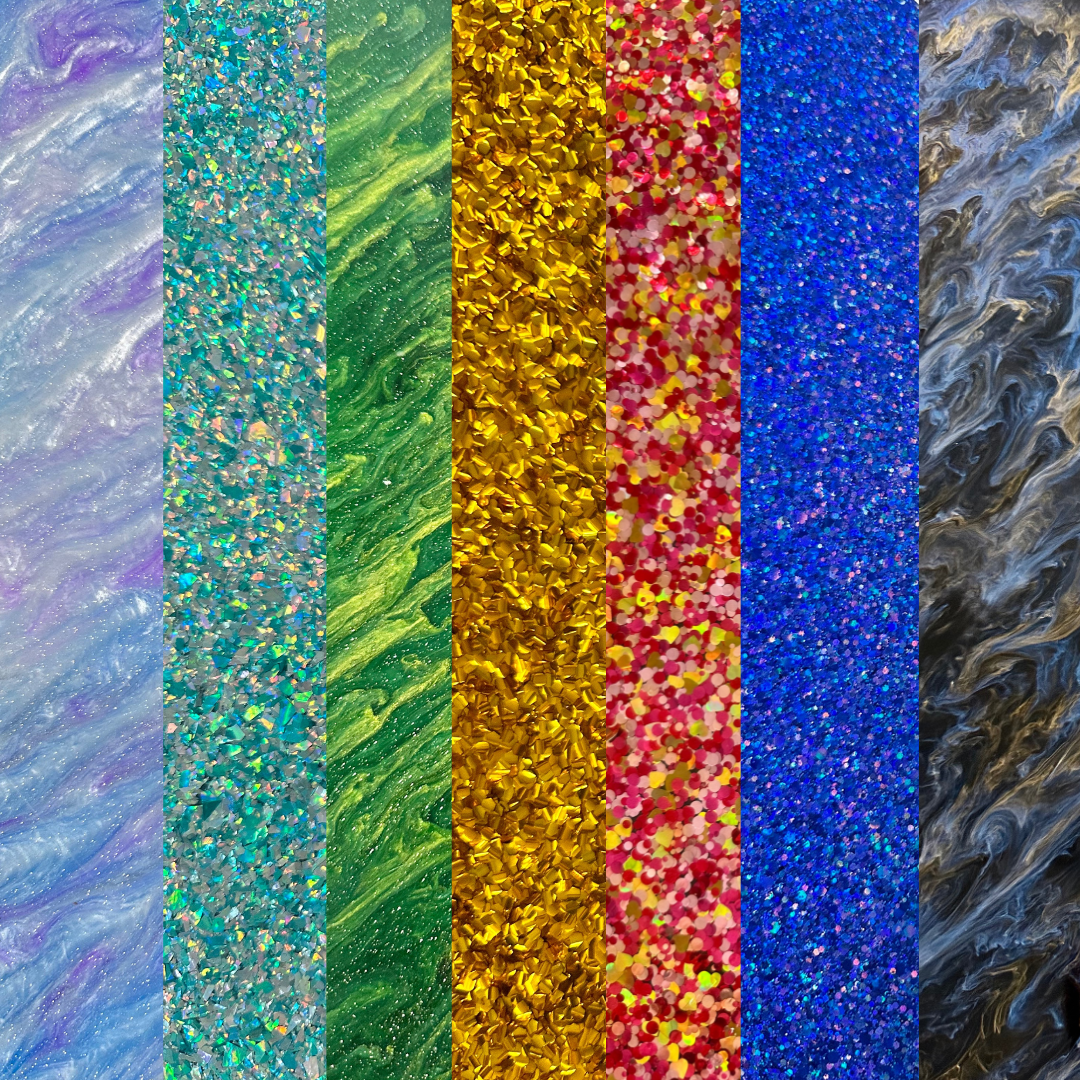
Material Quality: The quality of your acrylic sheets matters. Inferior or inconsistent material may be more prone to flashback issues. Invest in high-quality acrylic for better results. We suggest CMB Acrylic!
3. Warped or Distorted Acrylic:
Issue: Your acrylic is warped meaning your focus will vary along the piece.
Solutions:
Cutting Table: Use a cutting table with a honeycomb or grid to support the acrylic evenly.
Magnets/Pins: Use magnets (if your laser allows), or honeycomb pins to hold down the edges of the material and create a more even surface area.
Engrave First: If doing a cut and engrave, engrave your acrylic first, then cut.
Remember, troubleshooting is part of the creative process. Don't be discouraged if it takes a little trial and error to achieve the perfect cuts and engravings on your acrylic sheets. Take your time to fine-tune your laser settings and maintenance routines.
By addressing these common laser-cutting woes, you can create gorgeous acrylic projects that are free from those pesky incomplete cuts and unwanted burns. Happy laser-cutting, and keep those creative juices flowing
Up next? Read all about our must have's when working with acrylic!