Making a Custom Shelf for our Printer Stand!
DIY Custom Acrylic Shelf for Your Mimaki Printer Stand ✨
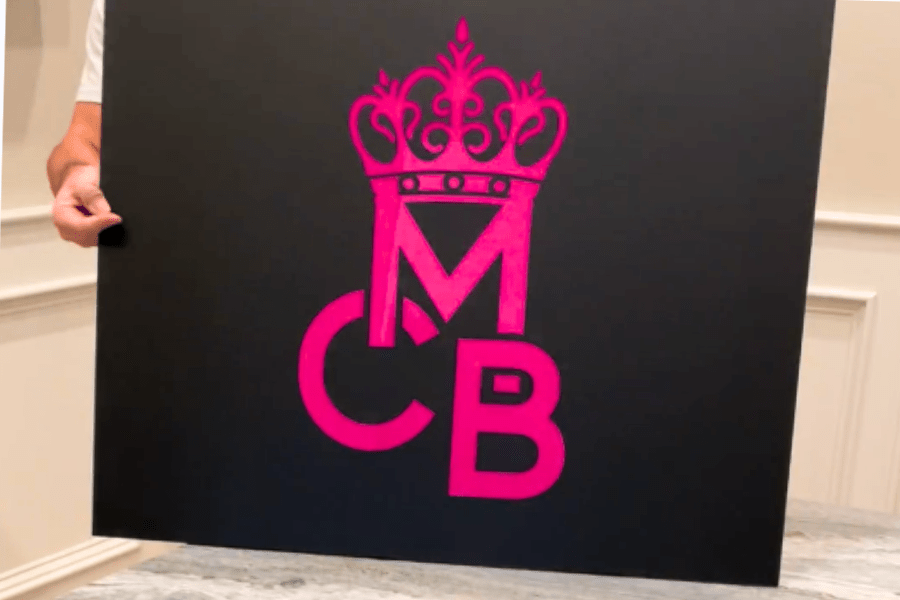
Looking to elevate your equipment setup? This week at CMB, Nick built a custom acrylic shelf for our Mimaki printer stand, and it turned out incredible. Not only does it add a bold, personalized flair, but it’s also a functional upgrade that anyone with a laser can recreate!
Materials Used:
-
2 sheets of 1/8" Matte Black Acrylic (for top and bottom layers)
-
1 sheet of 1/4" Matte Pink Voltage Acrylic (for the center layer)
-
Orabond (double-sided adhesive)
Step-by-Step Breakdown:
1. Measure & Cut
We started by measuring our Mimaki stand and cut each acrylic sheet to 35-5/8” x 29-5/8” – the perfect fit for our shelf insert.
2. Apply Orabond
To prep for layering, we applied Orabond to the backside of each sheet. This makes final assembly quick, secure, and seamless.
3. Design & Laser Cut
-
We cut the outline design out of one sheet of matte black acrylic – this serves as our top layer.
-
Using the same design, we cut it out of our matte pink voltage acrylic – this becomes the middle accent layer, adding a bold pop of color.
-
On the second sheet of matte black acrylic, we framed, scaled, and engraved the same design. This sheet acts as our bottom layer, adding depth and detail.
4. Layer & Assemble
To assemble the shelf:
-
Start with the engraved black layer as your base.
-
Carefully align and place the hot pink layer on top – the design should line up perfectly.
-
Finish by adding the cutout black layer on top, sandwiching the hot pink acrylic between both black sheets. The result? A vibrant, dimensional shelf that looks like one seamless piece.
Why We Love It 💕
This project is a simple yet impactful way to customize your workspace and show off your laser skills. Plus, it’s a great excuse to try out layered acrylic designs and experiment with color pops.
Whether you're upgrading your own setup or making something custom for a client, this method is beginner-friendly and totally scalable. 🛠️
🖤 Want to recreate this look?
Grab the Matte Black and Matte Pink Voltage Acrylic Sheets from our shop, and be sure to check out the full video tutorial to see the process in action!
Prev post

Stay Organized with a DIY To-Do List Magnet
Updated on 11 November 2025
Next post

How to Make DIY Leatherette Bows with CMB Materials
Updated on 10 April 2025
